

Connect+ Rack & Handle Assembly Guide
This written guide will walk you through assembling and attaching the Connect+ Rack & Handle for Revv1 FS and HT.
Assembly Video
Refer to the YouTube assembly video below:
Materials Needed
- Ride1Up Hex Key Set (3, 4, 5, 6)
- 8mm open-end wrench
- Wire cutters or scissors
- Zip Ties
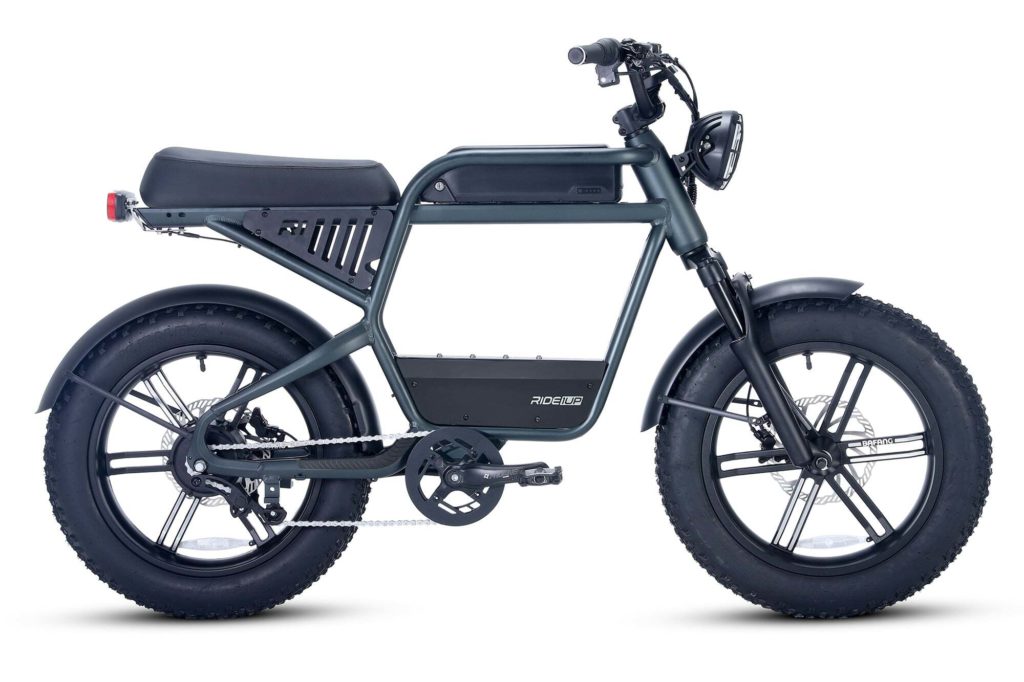
- Utility Rack
- Grab Handle
- Side Panels
- Rear Brace
- Rear Light extension cable
- Bolts & Washers
Step-by-Step Instructions
Step 1: Prepare for Installation
- Work in a spacious area with room to move around the bike.
- Remove the battery to prevent tipping during installation.
- Lay out all parts and tools before starting to ensure no loose hardware is lost or misplaced.
Step 2: Remove Rear Brake Light and Frame Plug
- Cut the zip tie securing the rear light cable.
- Unplug the light and remove it using an 8mm wrench to remove the nuts (save the hardware).
- Unbolt the bracket using a 3mm and 4mm Allen wrench and remove it.
- Pull out the rear frame plug once the bracket is removed.

Step 3: Slide in the Utility Rack
- Insert the rack into the frame, ensuring it is fully seated.
- The frame holes should be fully visible for bolt installation.


Step 4: Install Grab Handle & Bolts
- Position the grab handle by sliding it down between the rack and seat.
- Use the shorter rack bolt to loosely secure the handle through the back hole.

Step 5: Install Side Panels
- Attach one side panel at a time, loosely inserting all bolts.
- Secure the rear of the side panel using an M6x25mm bolt.
- Insert the long front bolt through the side panel and rack, securing it on the other side with a short bolt.
- Repeat for the opposite side.


Step 6: Install Rear Brace
- Install the rear brace as shown below.
- The brace has angled ends to better fit the rack sides.
- Secure using the M5x25mm bolts.

Step 7: Tighten All Bolts
- Go around the rack, tightening each bolt gradually to 3-5 Nm.
- Repeat the process 2-3 times to ensure a secure fit.
Step 8: Install Rear Light
- Attach the rear light to the back of the rack using two 8mm nuts and washers.
- Plug in the extension cable and route it along the frame.
- Secure the extension cable to the taillight wire using two zip ties.


Final Steps & Review
- Do not exceed 100lbs of total weight on the rack and panniers.
- Ensure all bolts are tightened.
- Heavy loads will affect the handling of the bike and caution should be taken when riding.
- The rack is not to be used for stunt riding.
- Periodically check the bolts to make sure they are secure.
- Ensure that straps or cargo cannot get into the rear wheel or interfere with the rear suspension.
Need Help?
For any questions or additional assistance, please contact customer support.